How to Install a Chatbot on Your Website with Google Tag Manager
Published on July 10, 2025

Follow these simple steps to install a chatbot on your website using Google Tag Manager, no developer needed.
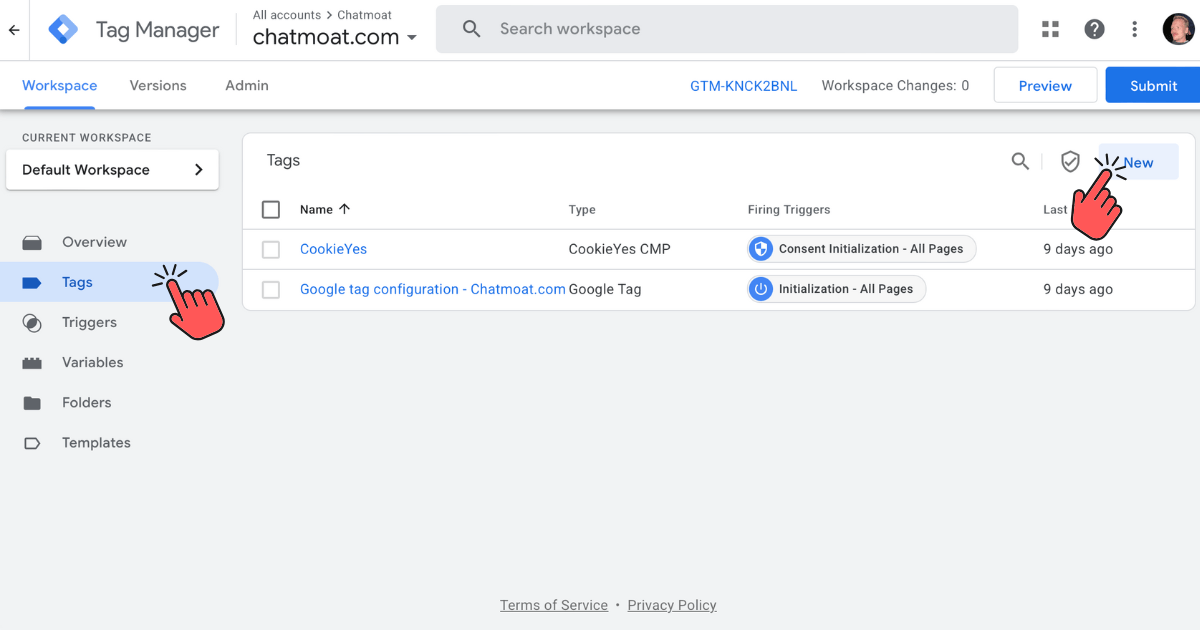
Step 1: Create a New Tag
In your GTM workspace, go to Tags and click the New button.
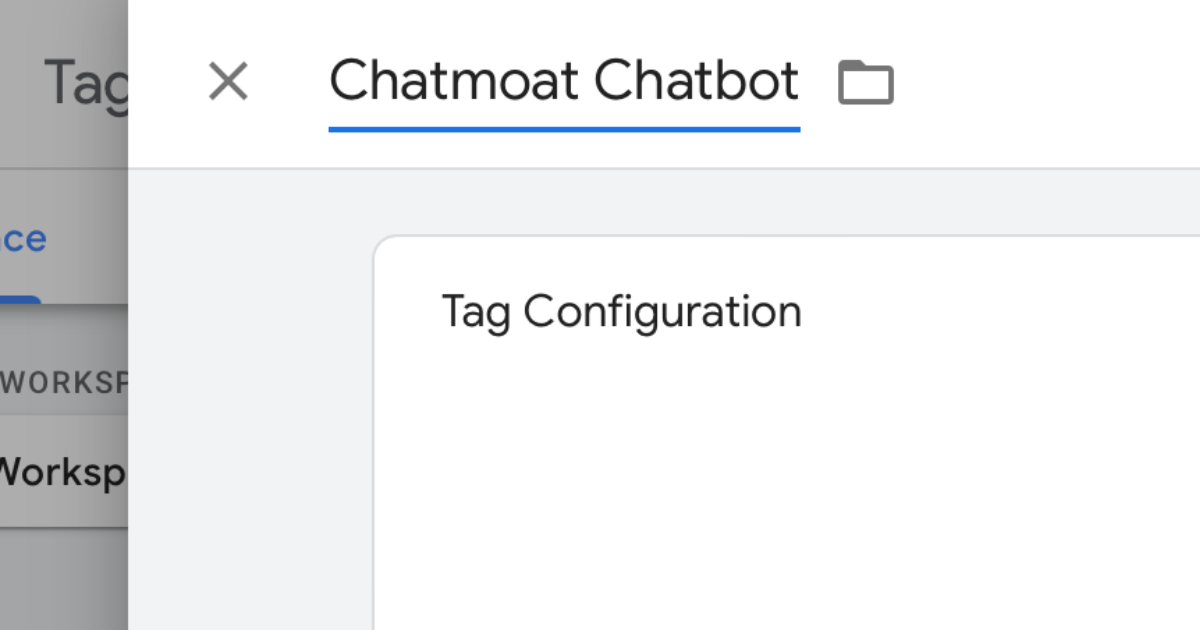
Step 2: Name the Tag
Give your tag a clear name, like Chatmoat Chatbot, so you can identify it later.
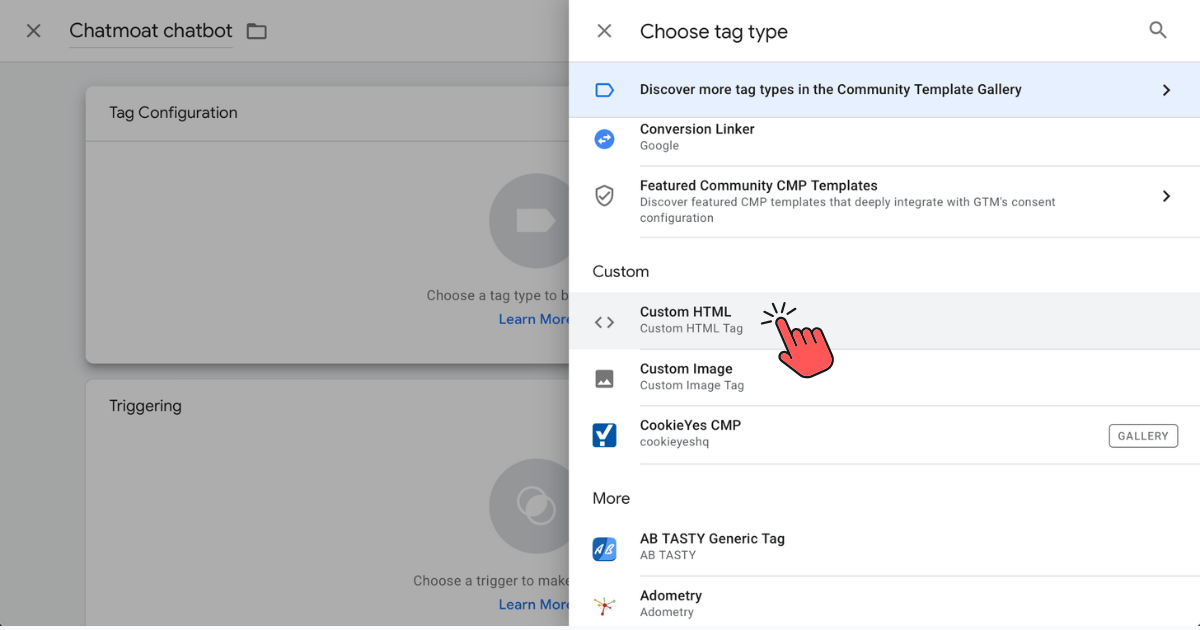
Step 3: Choose Tag Configuration
Click Tag Configuration and select Custom HTML as the tag type.
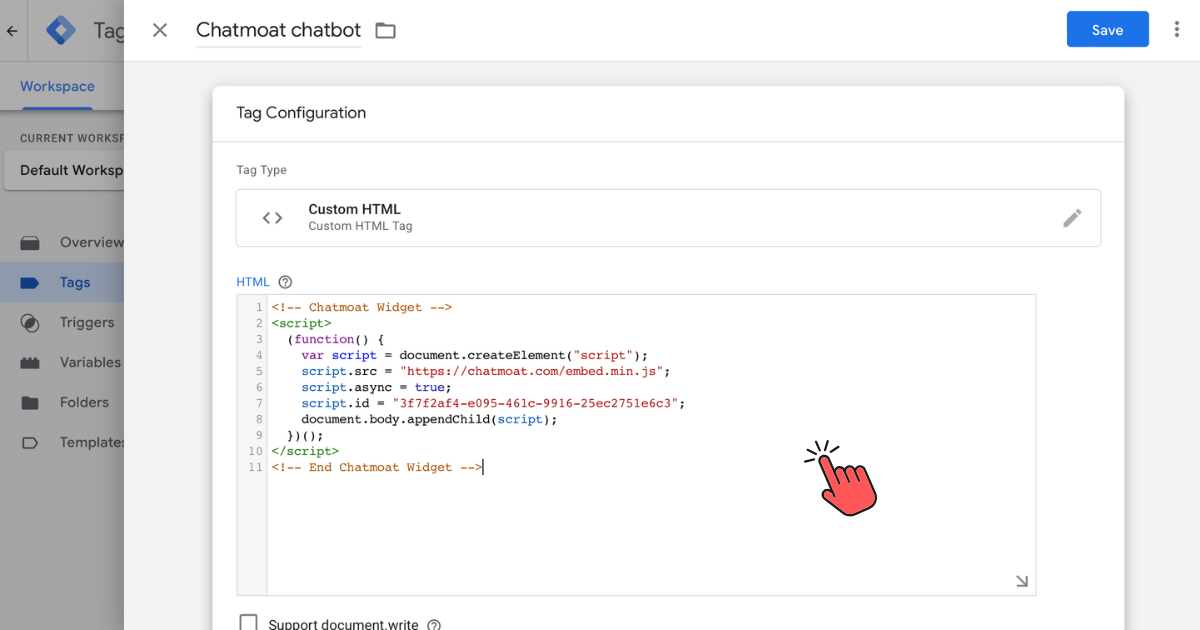
Step 4: Copy Your Chatbot Embed Code
From your chatbot provider dashboard, copy the JavaScript embed snippet. If you're doing this from Chatmoat, go to Install Chatbot and then clicke the button "Copy Javascript Embed Code"

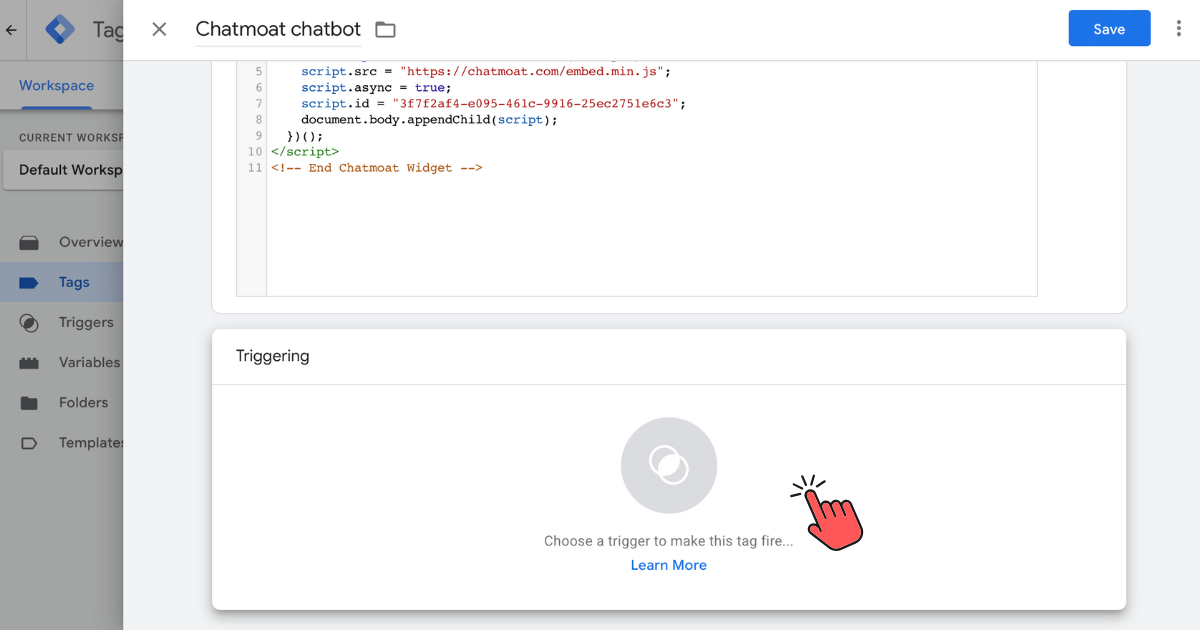
Step 5: Paste the Embed Code
Paste the embed code into the HTML field.
Step 6: Choose a Trigger
Click Triggering to set when the tag should fire.
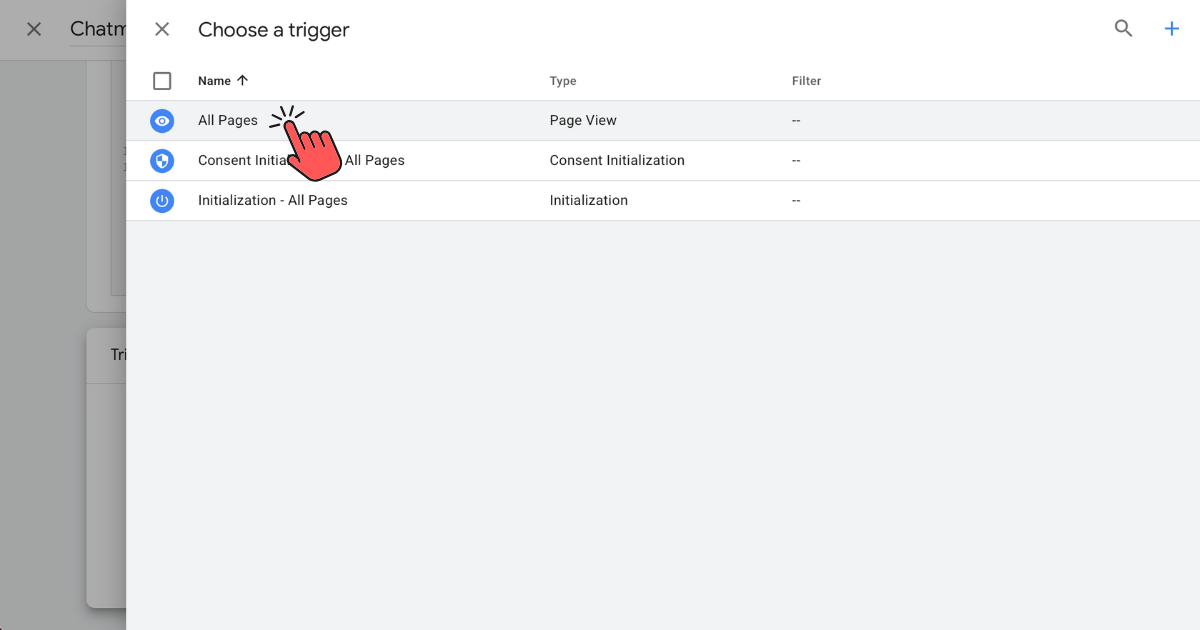
Step 7: Select “All Pages” Trigger
Choose the All Pages page-view trigger so the chatbot appears site-wide.
Step 8: Save the Tag
Click Save to keep your new chatbot tag configuration.

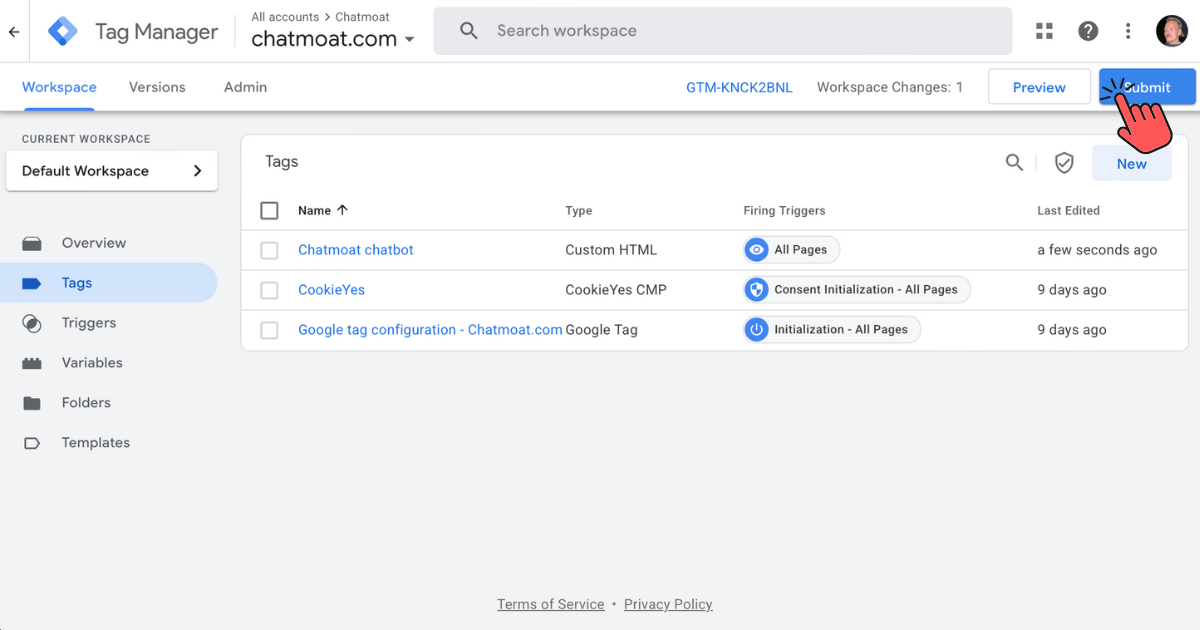
Step 9: Submit to Google Tag Manager
Back in your GTM workspace, click Submit to create a new container version.
Step 10: Name the New Version
Give your new GTM version a descriptive name, e.g. Added Chatmoat chatbot.

Step 11: Publish Your Changes
Click Publish to make your chatbot live on your website.
Step 12: Verify the Installation
Visit your website and confirm that the chatbot loads correctly. You’ve now successfully installed a chatbot on your website using Google Tag Manager!